


During this project, we’ll light up an LED using a circuit made from salt. A circuit is the path of an electric current. The current starts with a power source and moves from the power source to what needs to be powered.
Today we want to power an LED light. We will use salt to move the energy from the battery to the light. Salt can do this because it is conductive. This means an electric current can flow through the salt like a wire.
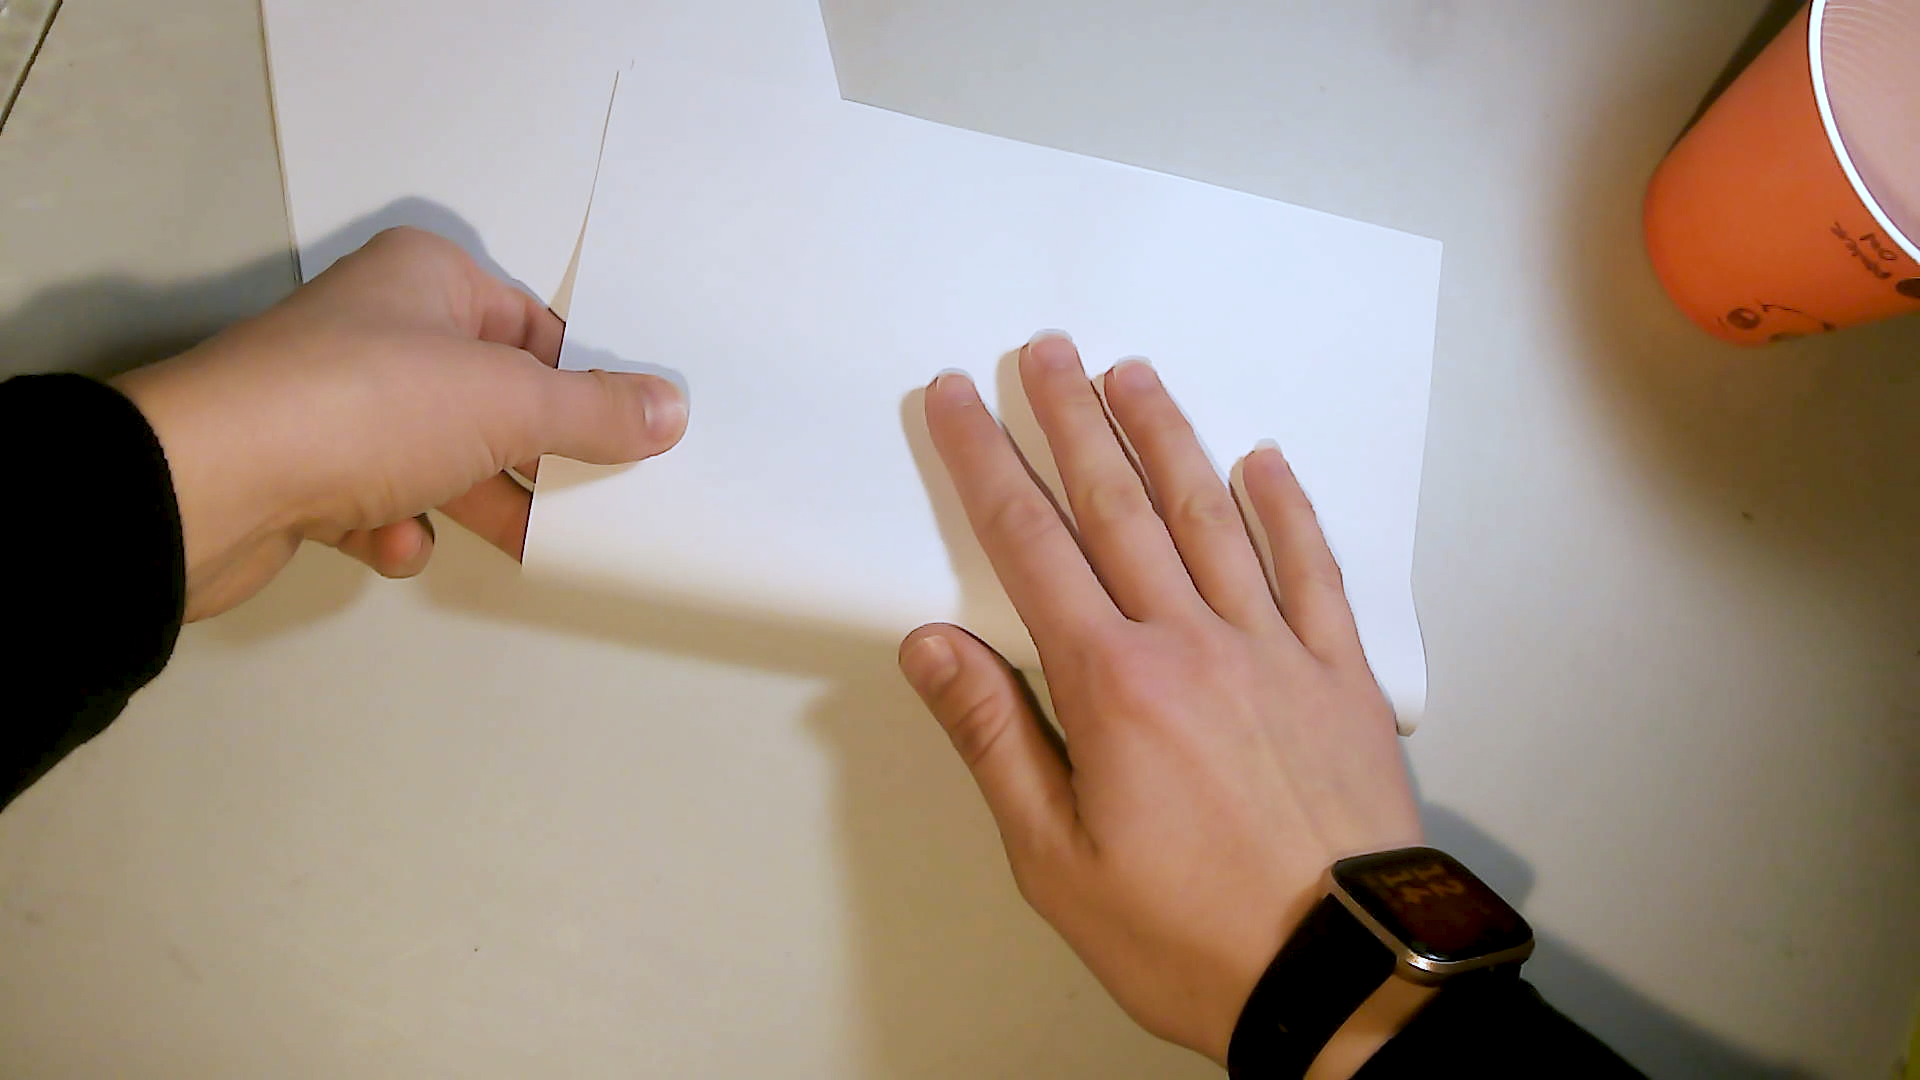
Fold two sheets of paper in half (hotdog-style).
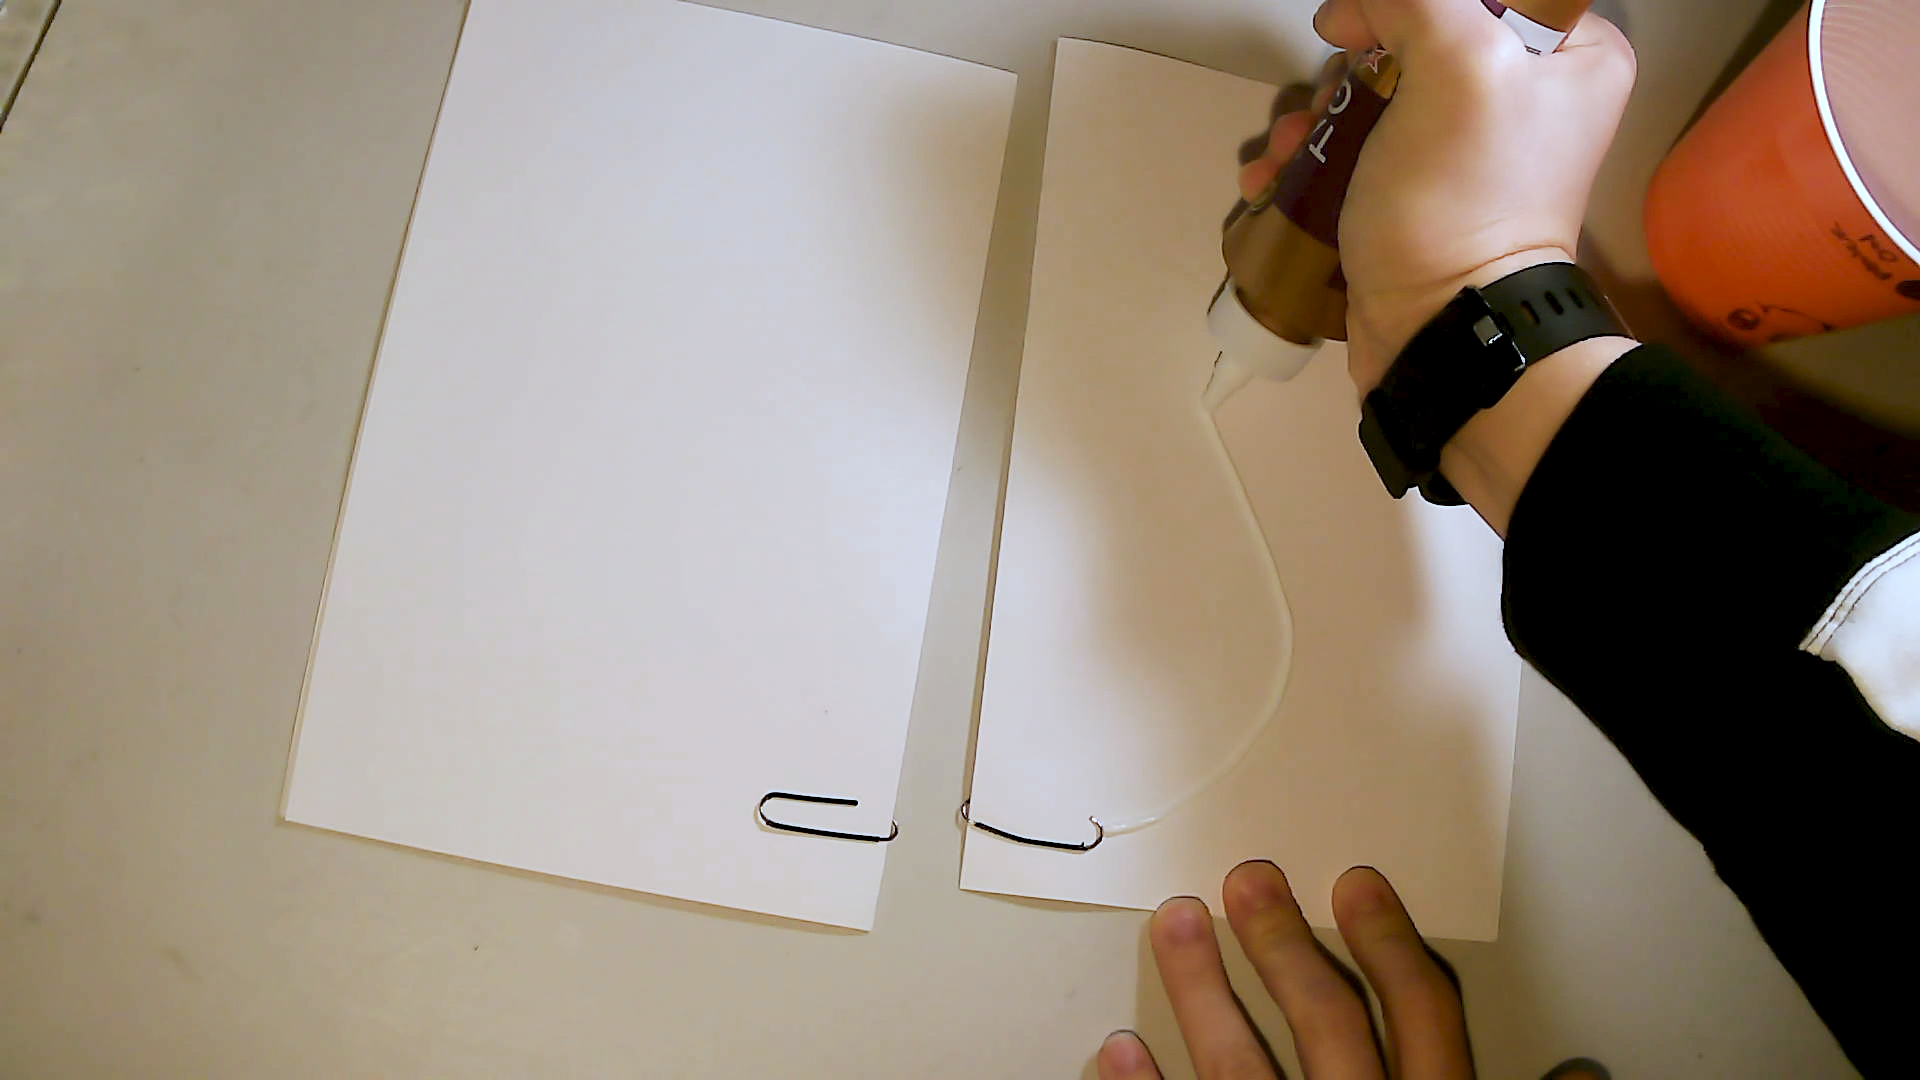
Attach one paperclip to the bottom of each sheet.
On both folded sheets of paper, draw a path of glue from the paperclip to the edge. Use a generous amount of glue.
Using your fingers, sprinkle the salt along both glue pathways.
When finished, shake the loose salt into the trash. Add some color! Add watercolor or food dye to the salty glue lines using your pipette. 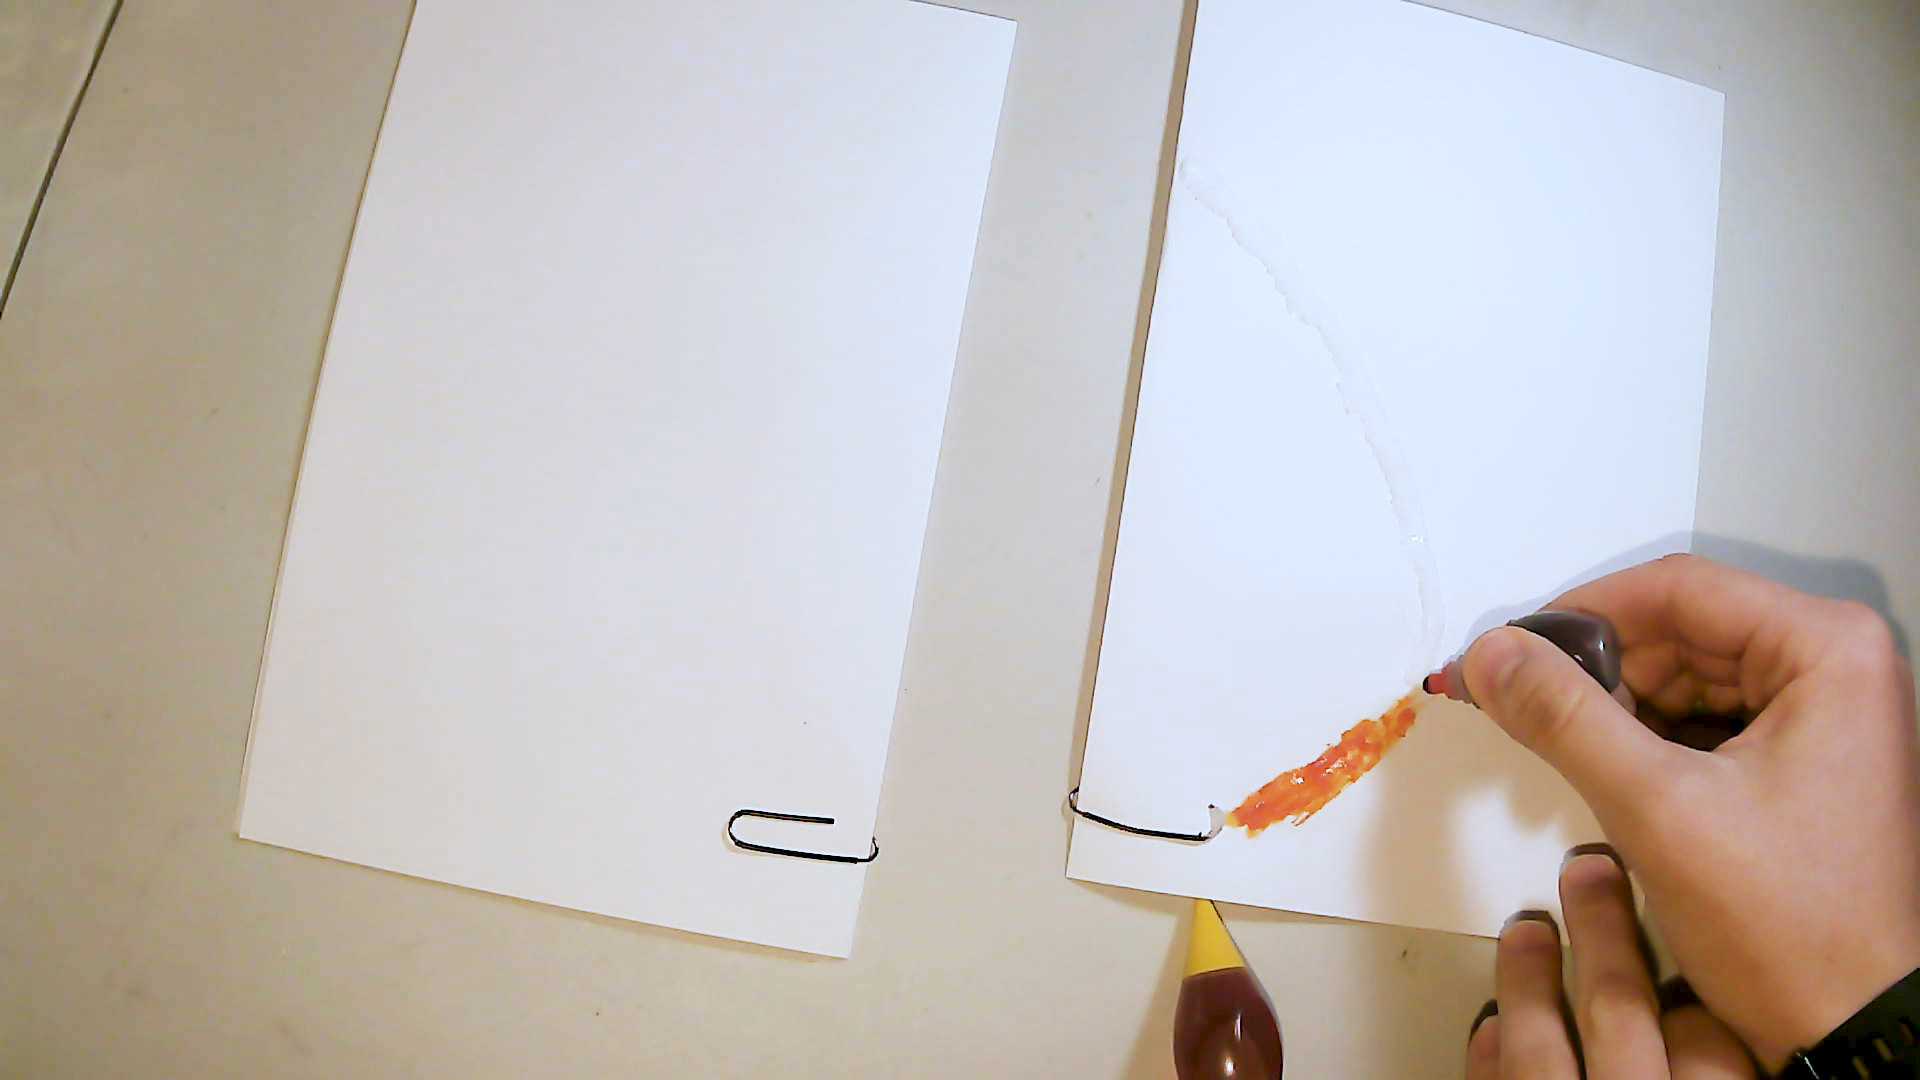
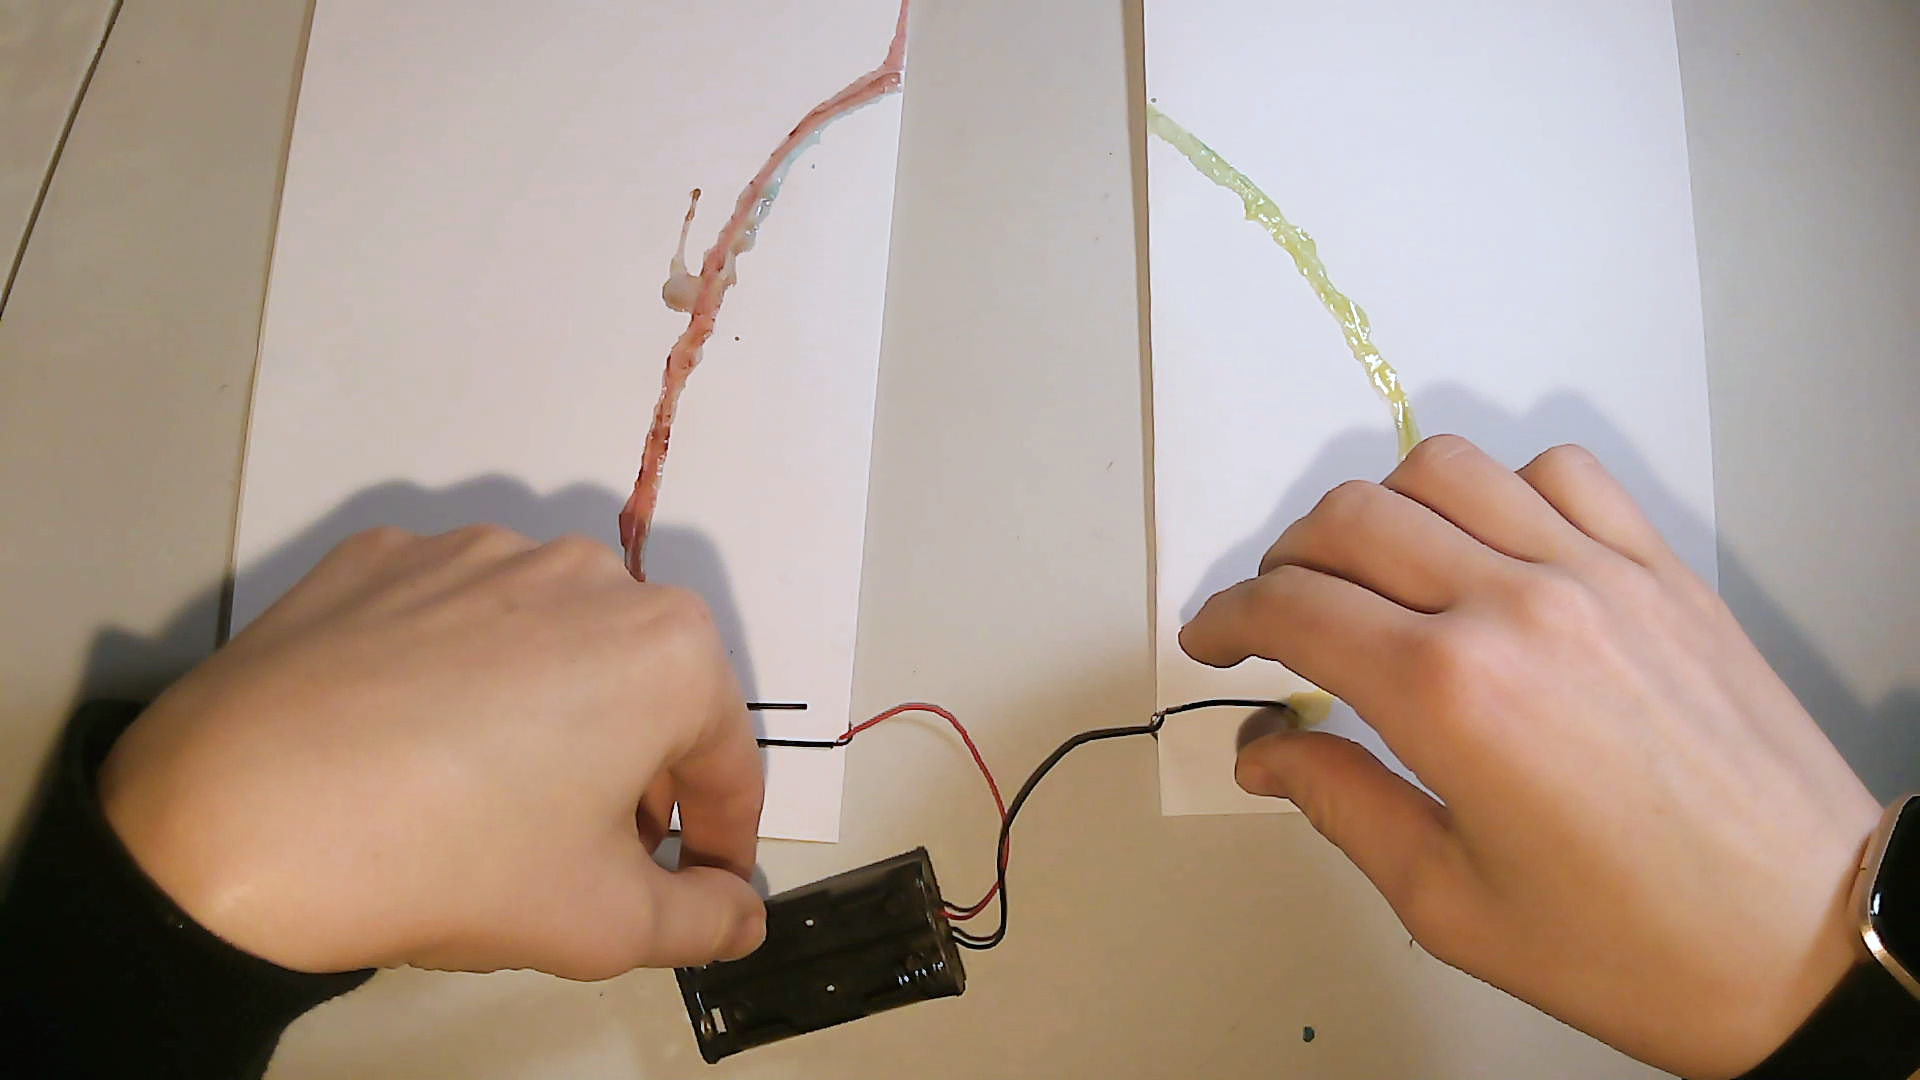
Take the exposed red wire from your battery pack and connect it to either of the paperclips. Use tape to secure it.
Repeat this process, but with the black wire. Attach it to the second paperclip and secure the connection with tape.
Find your LED. Inspect it closely. What do you notice about the legs of the LED? You’ll notice one leg is longer than the other. The long leg is positive.
When we build circuits, we associate positive leads with the color red. The short leg is negative, and we associate negative leads with the color black.
Place your batteries inside the battery pack. Touch the long leg (positive side) of the LED with the red wire from your battery pack. Touch the short leg (negative side) to the glue/salt line attached to the black wire.
What happens with your LED?
If your LED doesn’t light up, answer the following questions:
- Is your circuit completely connected so that electricity can flow?
- Does the circuit make a complete circle?
- Check your LED. Do you have a good connection? Are the negative/positive leads on the correct salt pathway?
- Does your battery pack have a good connection to your paperclip and salt pathway?
- What does it mean when something is conductive?
- Why is it important to identify the positive and negative leads on an LED?
- What would happen if you used sugar instead of salt?
- What do you think is different about the two substances?
To receive your star toward the Investigate badge, upload a picture, or click the "I'm Done" button to let your staff know you've finished the activity.

